

Sur La Table Festive Bread Workshop: Raspberry Snowflake Wreath Bread (Recipe + Review)
Last year, to kick off the holidays I decided to try something new and took the Sur La Table Festive Bread Workshop.
It was my first-ever Sur La Table cooking class and also my first time making dough completely from scratch.
I’d always been a little intimidated by the idea of yeast and “proofing,” mostly because it sounded like something that could go wrong fast. Turns out, it’s a lot simpler once you see it in action.
The class was three hours long and covered two holiday-inspired breads: a Raspberry Snowflake Pull-Apart Wreath (baked in class) and a Chocolate Hazelnut Babka (proofed overnight and baked at home).
I was pleasantly surprised by both the experience and the recipes and left already looking forward to taking another Sur La Table cooking class.
If you’re looking for a low-key way to spend part of your holiday break — something that feels relaxing but still leaves you with new skills and something delicious to show for it — I highly recommend this class.
Curious about how Sur La Table cooking and baking classes work, pricing, and what to expect? I share all of that in my Sur La Table Cooking Class Review →
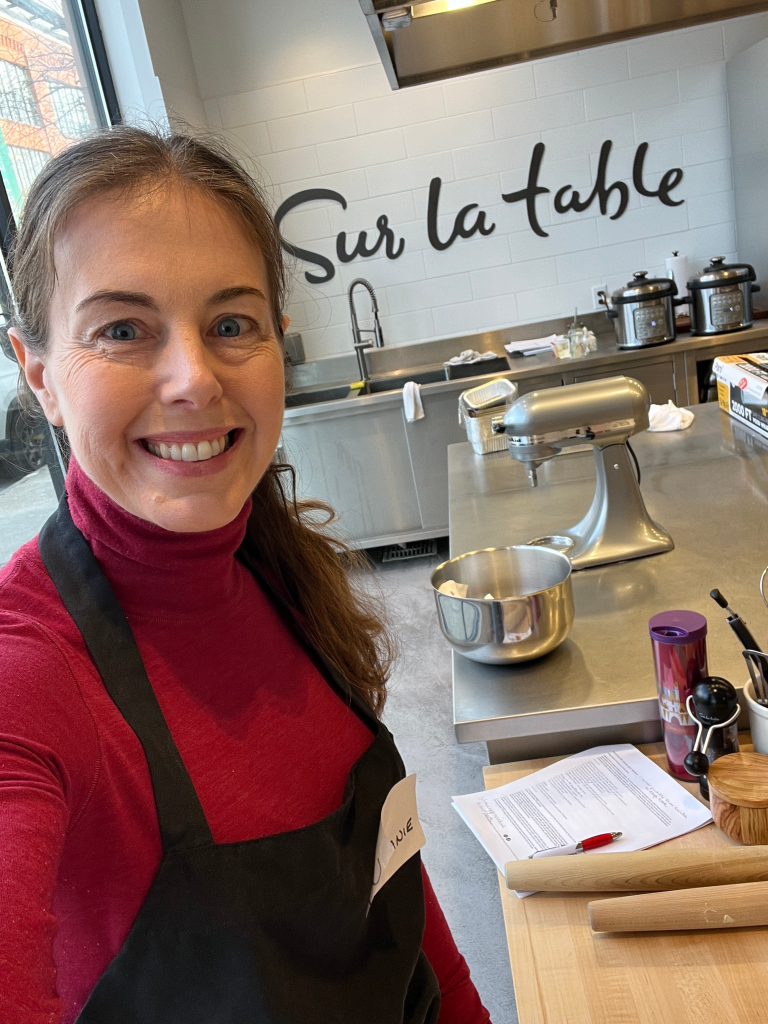
My Sur La Table Festive Bread Workshop Experience
Just before the holidays, I had a few extra PTO days to spare, and decided to spend it doing something just for me — the holiday bread-baking workshop at Sur La Table.
I went solo and ended up sharing a table with another woman who regularly takes Sur La Table cooking classes and a mom-and-daughter duo who clearly felt comfortable around dough.
The three-hour class took up the morning, which was a nice, slow way to ease into the holiday chaos.
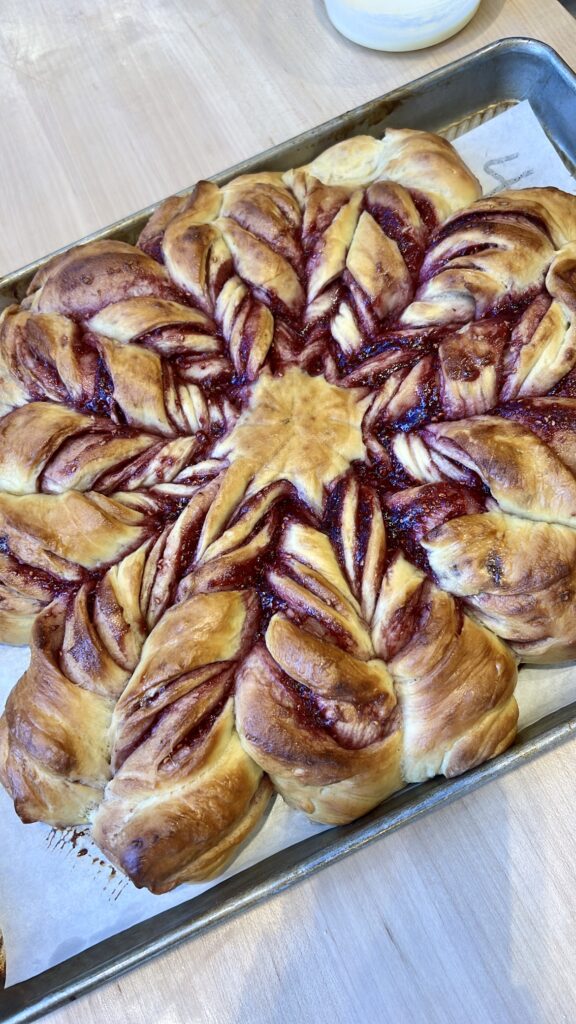
During the workshop, we made two festive breads. We started with the Raspberry Snowflake Pull-Apart Wreath, which we baked there. the second part of the class we went through the process of making the Chocolate Hazelnut Babka. Since that needed time to proof, the dough came home with me to rise for baking the next day.
The instructor walked us through every step, explaining not just what to do but why it mattered. Seeing the dough transform in real time made everything click.
The timing couldn’t have been better because I got to bring the finished babka home to share with my family the next day on Christmas Eve, and it felt like such a rewarding way to spend that pocket of time before the holidays.
I learned so much during that class and just as much from my table as I did from the instructor — small things like how to knead properly, how to tell when dough is elastic enough, and how not to overthink the process.
The class was relaxed, hands-on, and such a fun way to spend the day before Christmas.
By the end of the experience, I felt confident enough to try it again on my own.
Both recipes turned out not only delicious but beautiful. I was impressed by how approachable the process felt once I learned the right techniques.
Sur La Table Festive Bread Workshop: Takeaways from My Experience
One thing I appreciated about this class is how approachable it made bread baking feel.
I learned a lot from both the instructor and the people at my table, and left with a better sense of how bread is supposed to look and feel at each step.
Here’s what stood out to me most from the experience:
What I Learned:
- Yeast isn’t scary. Warm water around 100–110°F is all it takes to activate it. Once you see it foam up, it’s easy to trust the process.
- Kneading is about technique, not strength. I learned the “palms-forward” method — pushing the dough away, folding it back, and repeating until smooth and elastic.
- Proofing finally made sense. Watching the dough double in size in real time helped me understand what that stage should actually look like.
What I loved:
- The atmosphere. The class was calm, quiet, and unhurried — just the right pace for learning. There wasn’t any chaos or pressure; everyone was focused but relaxed, which made the whole experience enjoyable.
- The right tools really do make a difference. I got really comfortable with tools I had never used. The offset spatula made it easy to spread the hazelnut and raspberry fillings, and the bench scraper helped cut and move dough cleanly.
- The shaping process. Twisting the dough to create the snowflake design looked intimidating, but it ended up being my favorite part. Both recipes used that technique, and it was surprisingly simple once you got the hang of it.
Setting Expectations (What I Didn’t Love):
While I genuinely enjoyed the class, there were a few things I’d keep in mind if you’re planning to sign up:
- Limited dough practice. Because of the class format and timing, some dough steps were prepped ahead so we could finish both recipes in three hours. With four people per table, I didn’t get as much hands-on time shaping or kneading as I’d hoped — still valuable, but I wanted to do more myself.
- The snowflake bread was shared, not taken home. Each table split one finished wreath instead of everyone baking their own. It makes sense logistically, but if you’re hoping to take something full-sized home, know that the babka (which proofs overnight) is your takeaway — and it’s a mini loaf.
- Cardamom wasn’t for me. The snowflake wreath had a light cardamom flavor that added a citrusy, floral note. It worked for the season, but I’d skip it next time for a sweeter bread.
Even so, I left with new skills, two great recipes, and a real sense of confidence — not bad for my first time working with yeast.
Tools I Bought (and Actually Recommend)
After using Sur La Table’s professional tools during the class, I ended up buying a few to use at home.
Plus, you get 10% off in store if you buy anything the day you take a class.
These tools were items I didn’t have at home, but I got comfortable using them in class, and saw uses for them beyond and they made everything easier:
- Offset Icing Spatula – perfect for spreading fillings evenly without tearing the dough. I used this on my
- Bench Scraper – keeps your workspace clean and helps move dough easily. I loved working with this tool, it will absolutely come out when I make cookies too.
- Mini Balloon Whisk – sturdy, balanced, and great for mixing wet ingredients or activating yeast. This was excellent for making the egg wash and icing for the recipe and now I use it for eggs, mixing spices, and more!
- Tapered Rolling Pin – super easy to use, works for any recipe that requires rolling dough
- Stand Mixer – if you’re going to bake at least four times a year, highly recommend investing in the mixer.

How To Make Raspberry Snowflake Wreath Bread (Inspired by Sur La Table)
If you want to recreate the same Raspberry Snowflake Wreath Bread I made at home, here’s a version that simplifies the process and lets you choose your filling.
This recipe makes a large wreath, about 10 inches in diameter and takes over two hours if you account for dough rising time.
Ingredients You’ll need
For the Dough
- 1¼ cups warm water (about 110°F)
- 1 tbsp instant yeast
- 1 tsp sugar
- 3 eggs
- 1 tbsp honey
- 4 tbsp unsalted butter, melted and cooled
- 4½ cups all-purpose flour
- 1 tbsp sea salt
- ½ tsp ground cardamom (optional)
- 1 tsp oil (for bowl)
- 1 egg + 1 tbsp water (for egg wash)
For the Filling
- 1 cup jam or filling of choice (raspberry, orange marmalade, or Nutella)
- Optional: zest of ½ lemon or orange
- Optional: 1 tbsp sugar or cinnamon for added sweetness
For the Glaze
- ½ cup milk or cream
- ½ cup powdered sugar
- 1 tsp lemon juice
Directions
- Activate yeast: Mix warm water, sugar, and yeast. Let sit 5 minutes until foamy.
- Combine wet ingredients: Whisk eggs, honey, and butter; add to yeast mixture.
- Make dough: Mix flour, salt, and cardamom. Add wet mixture and knead 5–7 minutes until smooth and elastic.
- First rise: Place in oiled bowl, cover, and let rise about 1 hour or until doubled.
- Filling: Stir jam, zest, and sugar or cinnamon if using.
- Shape wreath: Divide dough into 4 pieces, roll each into a circle, layer with filling, and twist into a snowflake shape.
- Second rise: Cover and let rise 45 minutes.
- Bake: Brush with egg wash, bake at 350°F for 25–30 minutes, rotating halfway.
- Finish: Drizzle glaze or dust with powdered sugar.
A Few Tips Before You Bake Raspberry Snowflake Wreath Bread
- Filling flexibility: The class used raspberry jam with a touch of cardamom, but any thick jam or chocolate spread works. Try orange marmalade, cherry preserves, or Nutella if you prefer something sweeter.
- Skip the cardamom: The cardamom adds a floral, citrusy note — nice for a festive twist, but not necessary. I prefer the sweeter versions personally.
- Timing matters: The dough needs time to rise twice — don’t rush it. You can make the dough ahead and refrigerate overnight if needed.
- Twisting tip: To get clean, even twists, use a bench scraper instead of a knife — it keeps the edges tidy and helps move the dough without stretching it.
- Proofing environment: A warm kitchen helps. If it’s cool where you are, place the dough in your oven with just the light on (no heat) to create a gentle proofing space.
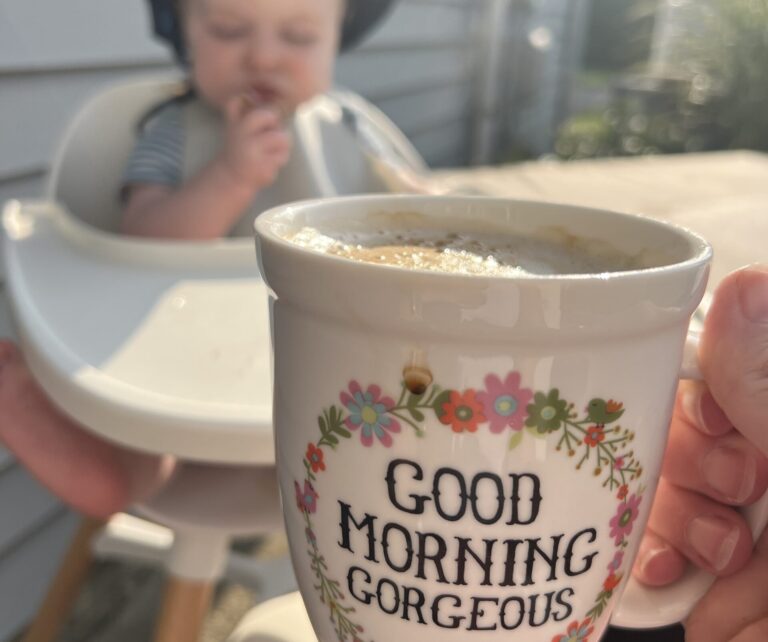
- Serving suggestion: Serve warm or at room temperature with coffee or tea. It’s just as good the next day lightly reheated.
- Storage: Wrap tightly in foil or plastic wrap. Keeps on the counter for up to 2 days or freeze for up to 2 months.
Raspberry Snowflake Wreath Bread (Inspired by Sur La Table)
A soft, pull-apart sweet bread shaped like a snowflake — made with layers of dough and raspberry filling, twisted into a gorgeous holiday wreath. This version is inspired by the Sur La Table and is easier than it looks. Perfect for brunches, holiday gatherings, or gifting fresh from your kitchen.
- Total Time: About 2½ hours + rising time
- Yield: 1 large 10-inch wreath
- Category: Dessert, holiday, Seasonal
Ingredients
For the Dough
- 1¼ cups warm water (about 110°F)
- 1 tbsp instant yeast
- 1 tsp sugar
- 3 eggs
- 1 tbsp honey
- 4 tbsp unsalted butter, melted and cooled
- 4½ cups all-purpose flour
- 1 tbsp sea salt
- ½ tsp ground cardamom (optional)
- 1 tsp oil (for bowl)
- 1 egg + 1 tbsp water (for egg wash)
For the Filling
- 1 cup jam or filling of choice (raspberry, orange marmalade, or Nutella)
- Optional: zest of ½ lemon or orange
- Optional: 1 tbsp sugar or cinnamon for added sweetness
For the Glaze
- ½ cup milk or cream
- ½ cup powdered sugar
- 1 tsp lemon juice
Instructions
- Activate yeast: Mix warm water, sugar, and yeast. Let sit 5 minutes until foamy.
- Combine wet ingredients: Whisk eggs, honey, and butter; add to yeast mixture.
- Make dough: Mix flour, salt, and cardamom. Add wet mixture and knead 5–7 minutes until smooth and elastic.
- First rise: Place in oiled bowl, cover, and let rise about 1 hour or until doubled.
- Filling: Stir jam, zest, and sugar or cinnamon if using.
- Shape wreath: Divide dough into 4 pieces, roll each into a circle, layer with filling, and twist into a snowflake shape.
- Second rise: Cover and let rise 45 minutes.
- Bake: Brush with egg wash, bake at 350°F for 25–30 minutes, rotating halfway.
- Finish: Drizzle glaze or dust with powdered sugar.
Notes
Filling flexibility: The class used raspberry jam with a touch of cardamom, but any thick jam or chocolate spread works. Try orange marmalade, cherry preserves, or Nutella if you prefer something sweeter.
Skip the cardamom: The cardamom adds a floral, citrusy note — nice for a festive twist, but not necessary. I prefer the sweeter versions personally.
Timing matters: The dough needs time to rise twice — don’t rush it. You can make the dough ahead and refrigerate overnight if needed.
Twisting tip: To get clean, even twists, use a bench scraper instead of a knife — it keeps the edges tidy and helps move the dough without stretching it.
Proofing environment: A warm kitchen helps. If it’s cool where you are, place the dough in your oven with just the light on (no heat) to create a gentle proofing space.
Serving suggestion: Serve warm or at room temperature with coffee or tea. It’s just as good the next day lightly reheated.
Storage: Wrap tightly in foil or plastic wrap. Keeps on the counter for up to 2 days or freeze for up to 2 months.
Final Thoughts
This class ended up being one of my favorite ways I’ve spent a day off. It was relaxed, informative, and left me feeling like I’d learned a real skill.
Working with dough for the first time was surprisingly satisfying, and I left with a new appreciation for baking from scratch.
If you’re thinking about trying a Sur La Table cooking or baking class, they offer a variety of options from desserts to full menus and international cuisines, to skills classes perfect for beginners.
You’ll learn hands-on techniques, make something beautiful, and walk out confident enough to try it again at home.
Read my full Sur La Table Cooking Class Review →


Get the Weekly Wellth Newsletter
Stay up to date & receive the latest posts in your inbox.