

How To Make Cold Foam At Home (No Frother, 2 Minutes)
Cold foam at home is one of those things that seems like it should be complicated—but it’s not.
It’s the upgrade you add at a coffee shop without thinking about it. It costs an extra dollar or two, makes your drink feel better, and somehow turns a basic iced coffee into something you actually enjoy.
For me, it’s become part of my morning coffee ritual — a small upgrade that quietly makes the cup feel intentional.
But once you realize how easy it is to make at home, it stops being something you order out and starts being something you just do.
No equipment. No extra steps. No real reason not to.
What Cold Foam Actually Is
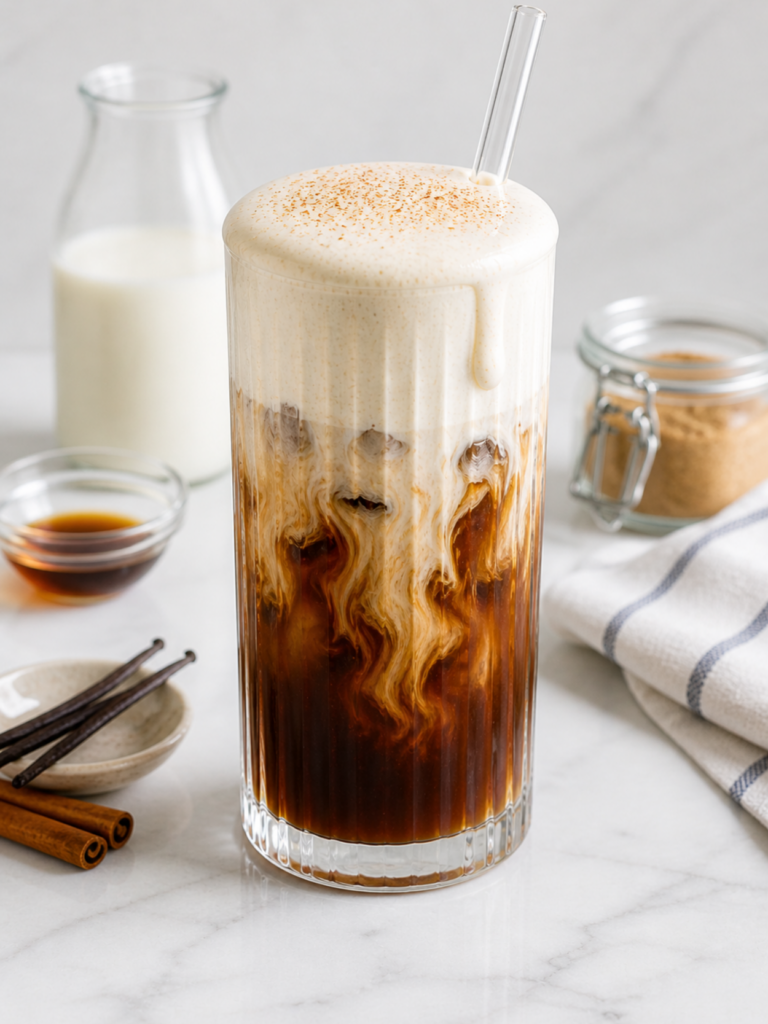
Cold foam is just milk that’s been aerated enough to turn into a soft, creamy layer.
Not whipped cream. Not a thick topping. Something lighter that sits on top of your drink and slowly mixes in as you sip.
That’s what makes it different.
It doesn’t just sit there—it changes the texture of the drink as you go. The first sip is stronger, the next is smoother, and by the end, everything blends together.
That’s why it works.
The Easiest Way To Make Cold Foam At Home
This is the only method you really need.
No frother. No blender. Nothing that adds friction.
Ingredients
- ¼ cup milk (whole or 2% works best)
- 1–2 tablespoons creamer or half-and-half
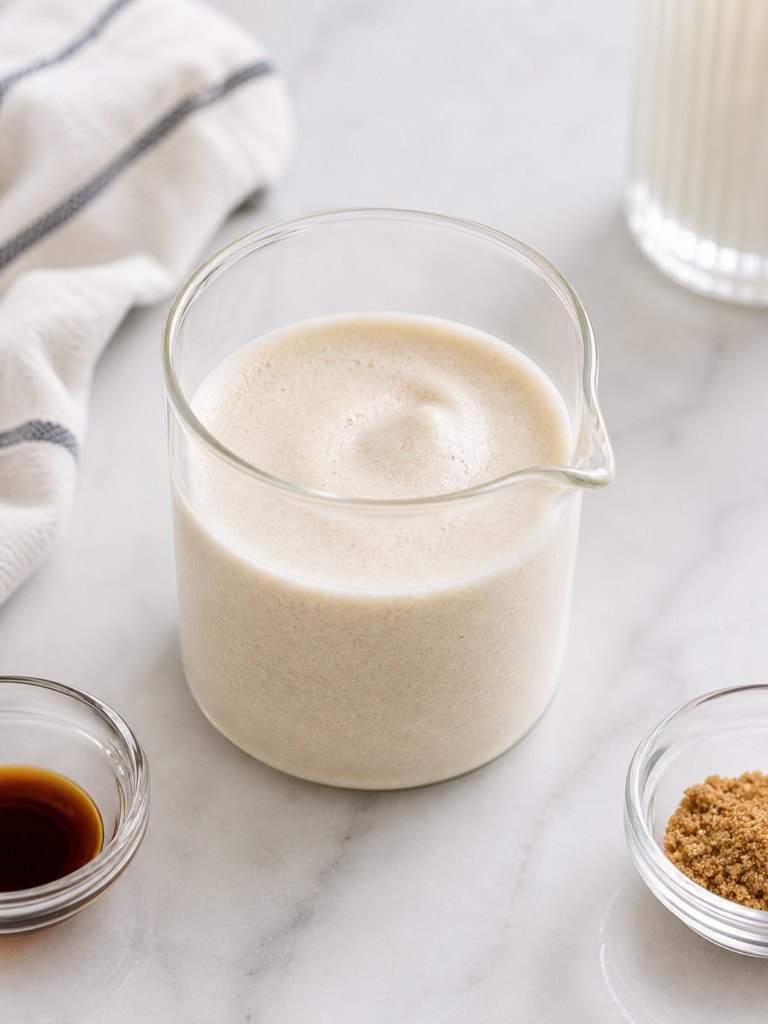
Instructions
- Add everything to a small jar with a lid.
- Shake hard for about 20-30 seconds.
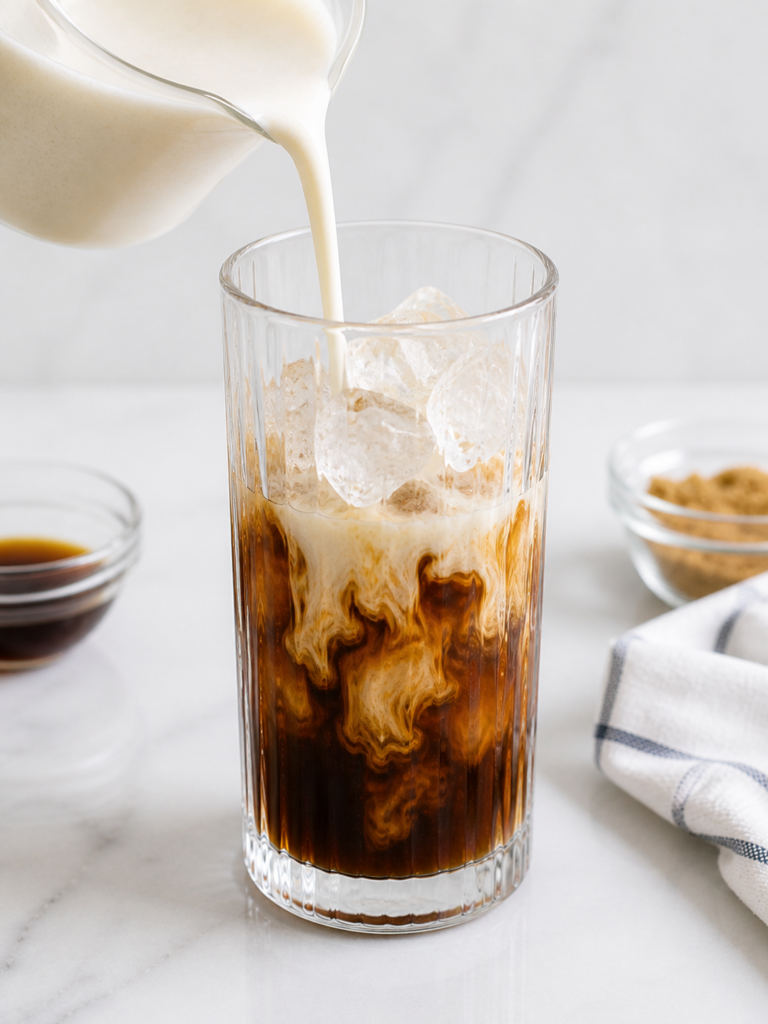
- Pour immediately over iced coffee or cold brew.
That’s it.
If it feels too simple, that’s kind of the point.
If You Want It Thicker (But Still Easy)
If you want something closer to what you get at a coffee shop, you can make a few small adjustments.
- Use a handheld frother if you already have one. It’ll give you a smoother texture with less effort.
- Use milk with a little more fat. Whole milk or adding a splash of cream will make the foam richer and more stable.
- Make sure everything is cold. Cold ingredients hold foam better, which is why this works so well for iced drinks.
None of this is required, but it’s there if you want to dial it in.
Why Your Cold Foam Isn’t Working
If it turns out thin or disappears too quickly, it’s usually something small.
Not shaking long enough is the most common issue. Give it a full 20 seconds.
Using the wrong milk can also change the result. Nonfat milk foams more but feels lighter. Whole milk is creamier but slightly less airy.
If it feels flat, it usually needs a little more fat or a little more time.
That’s it. Nothing complicated.
Best Milk For Cold Foam
Different types of milk give you slightly different results.
- Whole milk is the easiest to work with and gives you the creamiest texture.
- 2% is a good balance if you want something lighter without losing too much richness.
- Nonfat milk foams the most but doesn’t have the same creamy feel.
- Oat milk works well if you’re using a barista version. Regular versions can be hit or miss.
If you’re trying to recreate what you get at a coffee shop, start with whole milk and adjust from there.
How To Flavor Cold Foam
Once you know how to make cold foam, you don’t really need new recipes.
You just change the flavor.
That’s what makes this useful.
You can add:
- Vanilla for something simple and familiar
- Brown sugar for something warmer
- Cinnamon for something subtle
- Strawberry for something slightly sweet and different
If you want something more specific, this strawberry cold foam recipe is a good place to start. It uses the same base, just with one extra ingredient. Or try a butterbeer cold foam — same base, brown sugar and butterscotch syrup for a Coffee Mate copycat.
That’s the pattern.
What To Put Cold Foam On
Cold foam works best when the rest of the drink is simple.
Cold brew is the easiest option. It’s smooth and strong enough to balance the foam.
- Iced coffee works just as well if that’s what you already make at home.
- Iced lattes are a little creamier overall but still work.
- Matcha is another good option if you want something different but still simple — try it over a banana bread matcha latte.
- Or get creative and try cold foam on other drinks like this refreshing cherry cold foam lemonade →
You don’t need to layer flavors or build a complicated drink. The foam is the upgrade.
Why This Is Worth Doing At Home
This isn’t about saving money, even though it does.
It’s about making something you already do feel better without adding effort.
You’re already making coffee.
This takes less than a minute, uses what you already have, and doesn’t create extra cleanup.
That’s why it works.
If it required more than that, it wouldn’t stick.
How This Becomes Part Of Your Routine
Most things that sound like “upgrades” don’t last because they add friction.
This doesn’t.
It fits into what you’re already doing.
You make coffee. You shake a jar. You pour it on top.
That’s the whole process.
Once you do it once or twice, it stops feeling like an extra step and just becomes part of how you make your coffee.
Other Versions To Try Next
Once you have the base down, you can change the flavor without changing anything else.
- Vanilla sweet cream is the closest to what you’d get at Starbucks.
- Brown sugar is a more subtle option if you don’t want something overly sweet.
- Strawberry is an easy starting point if you want something slightly sweet.
- Ube is more visual and a little different, but uses the same method.
- Butterbeer uses the same base with brown sugar and butterscotch — Coffee Mate copycat that works as creamer or cold foam.
They all build on the same thing.
Final Thought
Cold foam at home looks like something you’d only get out, but it’s one of the easiest things to recreate.
And once you do, it becomes one of those small upgrades that just quietly makes your day a little better.
No extra effort. No complicated setup. Just a better cup of coffee.


Get the Weekly Wellth Newsletter
Stay up to date & receive the latest posts in your inbox.